


RC Chip Tray Guide: Sizing, Layout & Field Best Practices
Why RC Chip Trays Matter
In mineral exploration, accurate sampling is the backbone of reliable geological interpretation. While diamond drilling provides intact cylindrical cores stored in core trays, reverse circulation (RC) drilling generates fragmented samples known as chips. These samples are stored and displayed in RC chip trays, sometimes referred to as chip boxes, drill cuttings trays, or geology sample trays.
Selecting the right chip tray and applying field best practices can make the difference between clean, traceable samples and a confusing record that undermines decision-making. This guide offers a one-stop reference for geologists, field technicians, and drilling contractors on how to size, prepare, and maintain chip trays effectively in exploration projects.
What Is an RC Chip Tray?
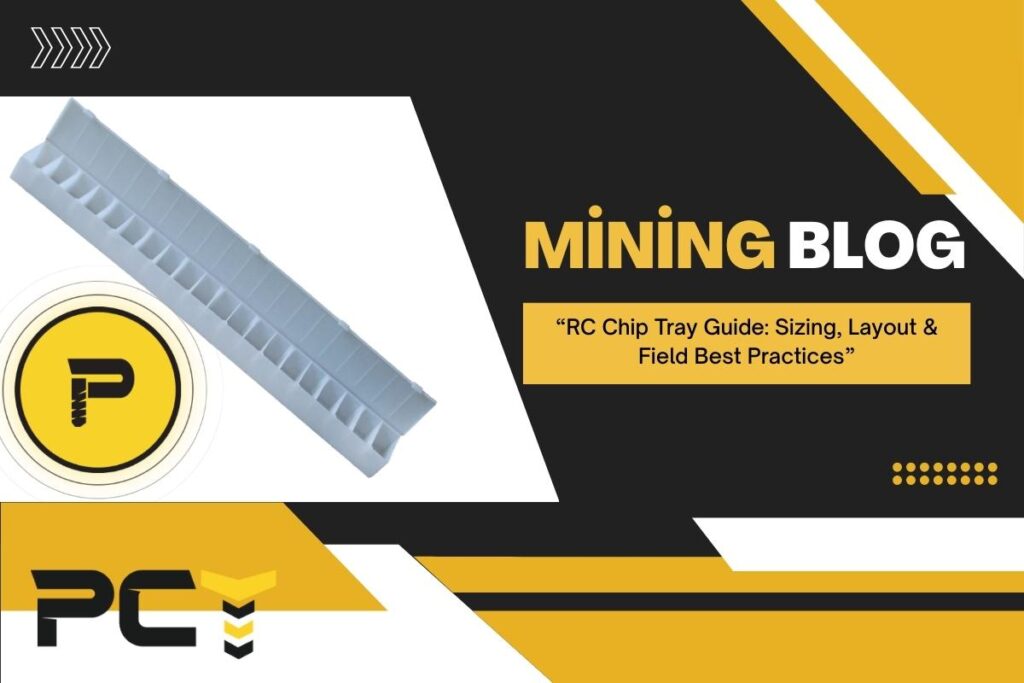
An RC chip tray is a specialised container used to store and organise drill cuttings from RC drilling. Unlike core trays, which hold continuous cylindrical core, chip trays are divided into compartments—each representing a set depth interval (commonly 1 or 2 metres).
-
RC Drilling vs. Core Drilling:
-
Core drilling = intact cylinders → stored in core trays.
-
RC drilling = fragmented chips → stored in chip trays.
-
Chip trays serve as a permanent geological record of the RC drilling process. They allow geologists to:
-
Visually inspect lithology, alteration, and mineralisation.
-
Cross-check laboratory assay results.
-
Provide auditable, long-term reference material.
Standard Depth Intervals & Layouts
The layout of chip trays follows industry standards, ensuring comparability across projects and consistency in data logging.
-
1-metre intervals: Most common, offering high-resolution detail.
-
2-metre intervals: Used in deep drilling where sample volume is high.
-
Compartment counts:
-
20 compartments per tray (1 m intervals = 20 m per tray).
-
10 compartments per tray (2 m intervals = 20 m per tray).
-
The choice between 1 m and 2 m depends on:
-
Project budget.
-
Geological variability.
-
Assay submission strategy.
Consistency is critical—once a depth interval is chosen, it must be applied across the program to avoid confusion.
Why Plastic Chip Trays Dominate the Field
While metal and wooden trays were once used, plastic chip trays have become the industry standard.
Advantages of plastic RC chip trays:
-
UV resistance – withstands prolonged sun exposure in the field without warping.
-
Impact strength – durable against drops, transport, and rough handling.
-
Lightweight – easy for field technicians to carry and stack.
-
Stackability – engineered to interlock, saving space in core sheds.
-
Moisture resistance – unlike wood, plastic does not absorb water.
High-quality trays often use recycled plastics, providing both sustainability and cost efficiency.
Setting Up Chip Trays On Site
Correct preparation and setup ensure that chip trays remain a reliable geological record.
1. Sample Sieving & Drying
-
Use a sieve to remove dust and fine particles that can obscure mineral textures.
-
Allow chips to air dry before storage—wet samples may stick together, misrepresent lithology, or cause mould growth.
2. Filling the Compartments
-
Fill each compartment no more than ¾ full—overfilling leads to spillage and contamination.
-
Level chips with a small spatula for clear visibility.
3. Labelling & Traceability
-
Mark trays clearly with hole ID, depth range, and date.
-
Use UV-resistant permanent markers or engraved tags to prevent fading.
4. Avoiding Contamination
-
Place trays on clean surfaces during filling.
-
Never stack open trays until they are sealed or covered.
Common Mistakes & Quick Fixes
Even experienced teams encounter problems. Below are the most frequent mistakes and how to fix them.
-
Overflowing compartments
-
Problem: Samples spill into neighbouring compartments.
-
Fix: Train staff to fill no more than ¾ of capacity.
-
-
Mixing of samples
-
Problem: Chips from different intervals get mixed during handling.
-
Fix: Always complete and seal one compartment before starting the next.
-
-
Moisture retention
-
Problem: Wet chips clump and alter in appearance.
-
Fix: Air dry under shade or use drying ovens in humid climates.
-
-
Poor labelling
-
Problem: Illegible or faded writing makes trays useless.
-
Fix: Adopt standardised, engraved or UV-resistant labels.
-
-
Unstable stacking
-
Problem: Trays collapse or tilt in storage sheds.
-
Fix: Use purpose-built stackable chip trays and racks.
-
Field Best Practices
-
Standardise across teams: Use identical tray models across projects.
-
Protect from elements: Store trays under shade or inside sheds where possible.
-
Audit regularly: Randomly check trays for consistency and accuracy.
-
Digital integration: Photograph trays and link them to geological logging software for long-term digital archives.
The Bigger Picture: Why Chip Trays Are Critical
In the mining cycle, chip trays are more than storage boxes. They are:
-
Training tools for new geologists learning lithological variations.
-
Decision-making references for resource models and cut-off grades.
-
Verification evidence for due diligence and audits.
When used correctly, chip trays reduce risk, save costs, and enhance confidence in geological data.
Choosing the right RC chip tray and maintaining best practices in the field are essential steps in preserving the integrity of drill cuttings. From sizing and layout standards to material choice and handling protocols, every detail matters. A small investment in quality trays and disciplined workflows ensures reliable geological records that can guide multi-million-dollar mining decisions.
Whether you are a junior geologist or an experienced exploration manager, remember: a chip tray is not just a container—it is the permanent memory of your drilling program.
FAQs
- What is a chip tray in geology?
- A chip tray is a compartmentalised container used to store and display drill cuttings from RC drilling for geological logging and reference.
- How does a chip tray differ from a core tray?
- Chip trays hold fragmented rock chips from RC drilling, while core trays store intact cylindrical cores from diamond drilling.
- What are standard chip tray sizes?
- Most chip trays hold either 20 × 1-metre intervals or 10 × 2-metre intervals, covering 20 metres of drilling per tray.
- Why are plastic chip trays preferred?
- They are UV-resistant, lightweight, durable, moisture-proof, and stackable compared to wooden or metal trays.
- How should RC chips be prepared before storing?
- They should be sieved to remove fines and dried to prevent clumping, mould, and inaccurate representation.
- What is the best way to label a chip tray?
- Use UV-resistant permanent markers or engraved tags showing hole ID, depth interval, and date.
- How do you avoid contamination between compartments?
- Fill and seal one compartment at a time, avoid overfilling, and keep trays on clean, stable surfaces.
- Can chip trays be photographed for digital records?
- Yes. High-resolution photos are commonly taken for digital storage and integration into geological databases.
- What mistakes should be avoided when using chip trays?
- Overflowing, poor labelling, wet storage, contamination, and unstable stacking are the most common.
- Do chip trays have environmental considerations?
- Yes. Many modern trays are made from recycled plastics, providing both sustainability and durability.